Class 127 DMU
Tom Cunnington
19th October 2015
5 minutes
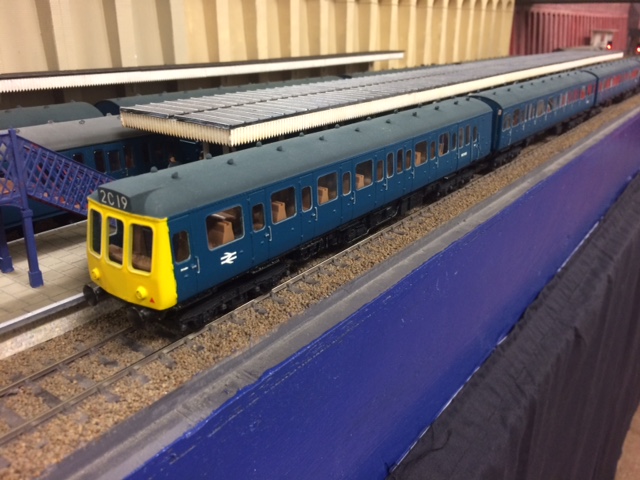
Class 127 4-car DMUs formed the local passenger services on the Midland main line south of Bedford, so have always been on the list of stock required for Minories. A club member started work on a unit back in 2007, but it didn’t get very far. In the interim, I made a 3-car 116 which provided the Midland service pending the arrival of the 127 – which made it’s first exhibition appearance at the National Festival of Railway Modelling in October where we got some very kind comments and questions about how it was made, prompting this blog.
Both the 116 and 127 units are made from Lima class 117 bodies,  and the techniques are similar, the key difference between the models of the 116 and 127 on Minories is the windows used.
When the 117 models first came out, there were a whole series of magazine articles on how to convert them to other units, a variety of conversion kits were available and there is even a pamphlet in the MRC library from I think an Australian modeller giving cut by cut instructions. They also have ‘of the time’ deep set windows which really need flush glazing as you can see in the ‘before’ pictures on the right.

With the forthcoming new 117 models announced, the price of second hand Lima units should drop fast making this a relatively cheap project, especially for anyone worried about making a mess of it. The tools and techniques are fairly straightforward, as long as you are happy to accept some compromises. The different arrangements of windows, toilets (or lack of toilet) and guards/luggage areas that differentiate the classes of units are made by slicing the body into sections, and gluing them back together. The original model has inaccuracies which means that doing this leads to slightly overlong or short bodies, and in particular the window behind the driving cab is too wide, and there are more sophisticated ways to fix those issue which I was happy to ignore.

I used the Brian Golding book on DMUs to work out what could be kept as it is, and which sections I needed to swap around. I copied pages, to get the sides back to back to work out to make sure both sides line up. The cutting and shutting means swapping around the sides, ie left side becomes right etc to do this efficiently. It is also worth noting that the roof detail varies slightly between batches, perhaps as the original moulds got worn, so get cars that are similar if you can.
 Before cutting up, I removed the moulded roof vents (and any un-needed toilet filler pipes on the centre cars), as they won’t line up and we can do better with white metal vents. This involved a chisel, files and sand paper, carefully avoiding damage to the sides and other roof detail.

Then using a new razor saw blade (to make sure its straight and sharp) I make the cuts along the door frames, going slowly and carefully to keep the line at 90 degrees to the sides. It’s probably worth numbering them inside so you can remember what goes where. I didn’t and almost glued them together in the wrong order. Then the sections are glued together in the right order with Butanone. It’s easy to put too much on, with the risk of getting your finger prints embedded in the new model, but I find the stronger glue makes a better bond in the longer term. This is the tricky bit, if any of the cuts are out of line you can create bends in the final coach, so I check check and check again, gluing one section at a time, letting it set for a couple of hours before doing the next piece. The joints don’t have to be perfect – gaps can be filled later. The key is straightness and getting the sides and roof flush.
When assembled, I glue thin strips of plastic inside the roof and along the inside of the sides below the window to add strength. Any gaps between sections, especially on the roof, can be filled with Humbrol filler and filed down.
The differently shaped roof boxes are formed using a piece of cut plastic sheet fro the front in the correct shape, glued over the existing box and the the boxes formed with more filler, sanded to shape. On the 166, the box is smaller, to the existing box is removed, and the smaller box made and the rood profile formed with filler.
The positions of the roof vents are marked and the holes drilled, and white metal vents glued in place. On units without corridor connections they are removed, and the ends filled with plastic sheet and filler. New exhaust pipes are glued in place (supplied by DC Kits).

Before paining, I wash the bodies with water and Cif, then spray with Halfords primer, then the final colours with the airbrush and masking tape. The picture here shows the bits of body, with filler around the joins.
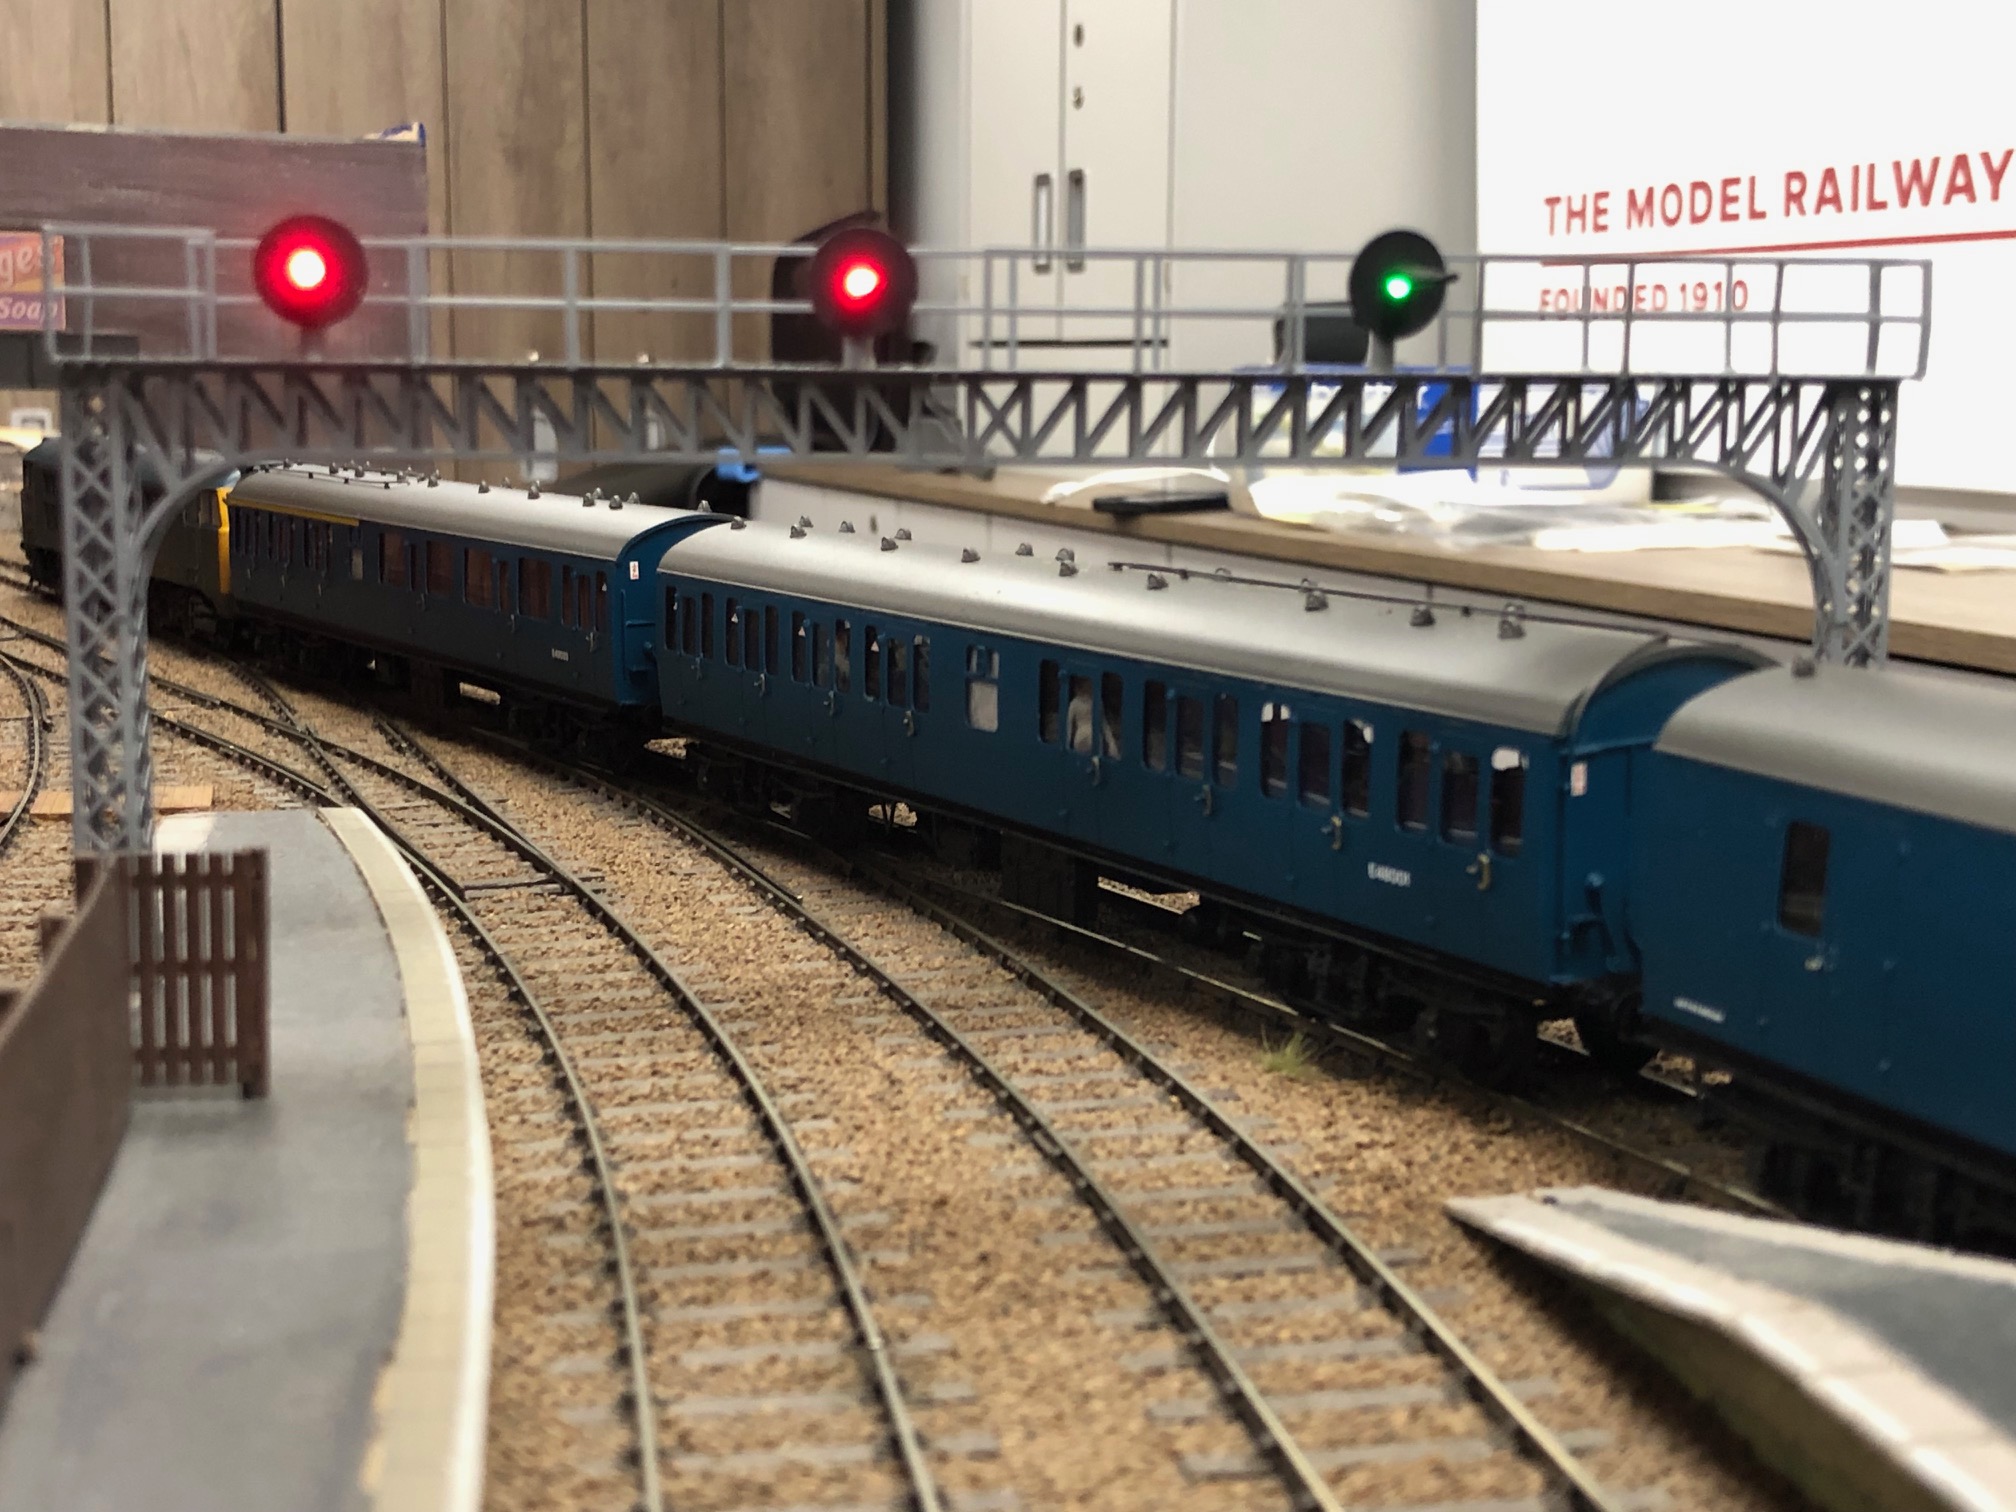
The flush windows on the 116 are SE Finecast, as used on the Mk1 suburbans, but the 127 uses the Extreme Etchings lazer cut glazing which are now available. This is perhaps a little more tricky to put in, but looks better in the end. Finally new transfers are added, and then with the body back on the chassis some weathering applied.
The motors are the original Lima pancake versions with Ultrascale wheels; the 116 works well but the fourth car on the 127 seems to be just too much so if a bit more weight doesn’t do the trick I’ll need to think about swapping the chassis on the unpowered DMBS to one with a motor, or using a new Replica one. The 116 has extra pickups in he middle car, with a small connecting wire between them.
Both units need more buffer beam detail on the cabs, and I know there are a number of inaccuracies, but they look close enough to me and I’m happy they represent the key characteristics of the units.
You can follow updates on the layout on Twitter @Minorieslayout, and subscribe to blogs from this site using the button above.
One thought on this post
Leave a Reply
You must be logged in to post a comment.
You may also like...
Thursday Track Nights
We are open on Thursday evenings from 7pm to 9pm at our Keen House clubrooms. Visitors are welcome, please come along and introduce yourself.
Address:
Keen House, 4 Calshot Street, London, N1 9DA
Become a member
Tom
Well done – an interesting read. The principles could equally apply to many similar “cut and shut” projects.
Peter Chappell